Illuminating Creativity: Designing a DIY LED Setup for My Room
Introduction:
In today’s world, where personalization and creativity take center stage, it’s no surprise that many individuals are incorporating LED lighting into their living spaces. Inspired by my love for LEDs and a desire to infuse my room with a vibrant ambiance, I embarked on a do-it-yourself (DIY) project to design a unique LED setup. This article outlines the steps I took to bring my vision to life, highlighting the joy of creation and the transformative power of lighting.
Components
- Acrylic Sheet
- ALITOVE Controller
- BTF-LIGHTING WS2812B RGB 5050SMD
- DC Power Cable Connectors
- JOVNO 5V 15A Adapter
Step 1: Planning and Inspiration
Before diving into the project, I spent time brainstorming and gathering inspiration. I explored various online platforms, such as Pinterest and youtube, to discover innovative ideas for LED setups. This stage allowed me to determine the desired aesthetic, color scheme, and overall atmosphere I wanted to create in my room.
Step 2: Researching and Gathering Materials
To ensure a successful DIY LED project, I conducted thorough research on the necessary materials and equipment. This included LED strips, a power supply, connectors, adhesive tapes, and a controller for customization. I also considered safety precautions and chose high-quality components from reputable sources to guarantee durability and reliability.
Step 3: LED Design & 3D printing
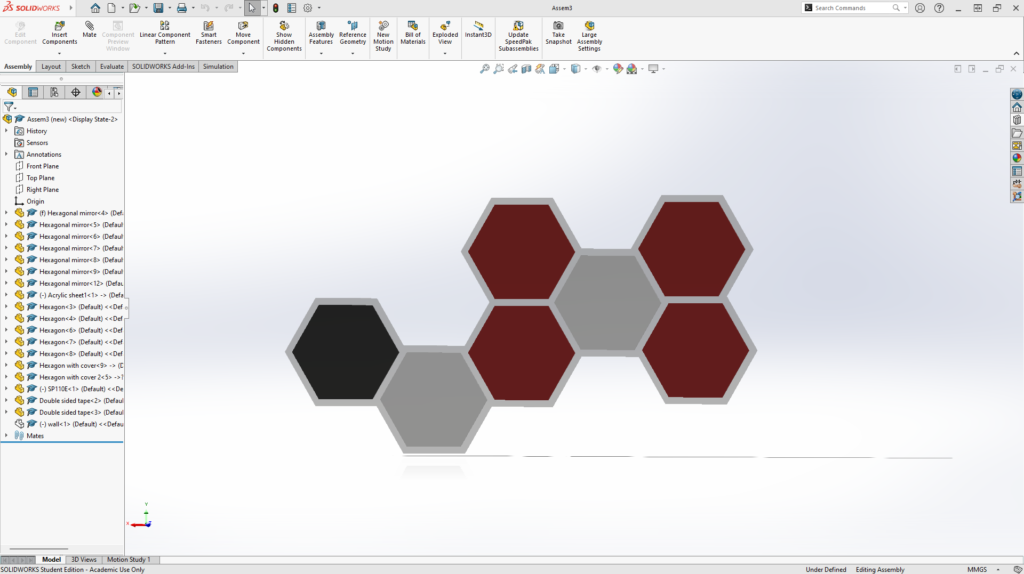
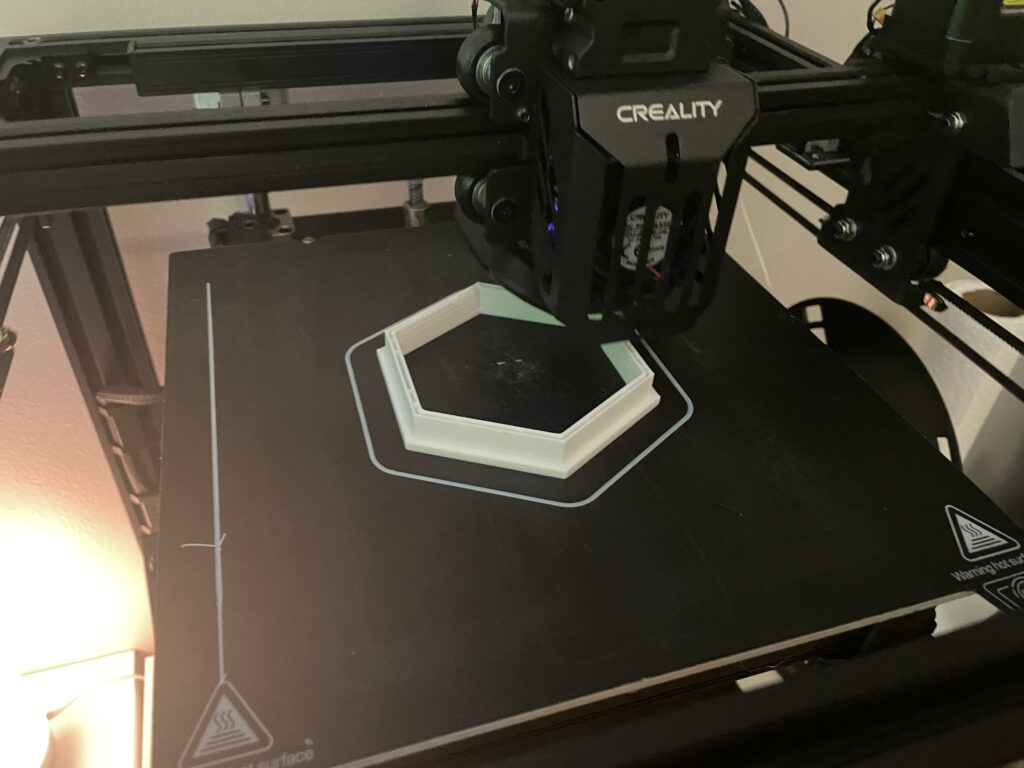
After my research, I came up with a design, jumped into Solidworks, and made a 3D model. When my models were complete, I printed the parts and started assembling them.


Step 4: Preparing the Room
I carefully assessed the room’s layout to determine the optimal locations for the LED strips. Planning the placement in advance ensured a balanced distribution of light and a visually appealing outcome.
Step 5: Installing the LED Strips
Using the adhesive tapes and connectors, I began attaching the LED strips to the predetermined locations. It was important to follow the manufacturer’s instructions and handle the strips with care to avoid any damage. I made sure to test the strips before installation to confirm they were functioning correctly.
Step 6: Wiring and Power Supply
To power the LED setup, I connected the LED strips to the 5v, 15A power supply unit. This required careful attention to detail and adherence to electrical safety guidelines. I ensured all connections were secure and used appropriate insulation to prevent any electrical hazards.
Step 7: Customization and Control
To add a touch of personalization, I incorporated an “ALITOVE” controller into the setup. This allowed me to change colors, adjust brightness levels, and experiment with different lighting effects from my phone. The controller provided flexibility and transformed my room into a versatile space that adapted to my mood and preferences.
Step 8: Testing and Final Adjustments
Once the installation was complete, I thoroughly tested the LED setup to ensure everything functioned as intended. I made any necessary adjustments, such as repositioning the strips or fine-tuning the lighting effects, to achieve the desired outcome. This testing phase allowed me to guarantee the longevity and performance of the DIY LED setup.
LED component assembly
Conclusion:
Designing and implementing a DIY LED setup in my room has been a rewarding and fulfilling experience. The project allowed me to combine my passion for LEDs with creativity, resulting in a visually captivating space that reflects my personality. From the initial planning stages to the final adjustments, each step was an opportunity to learn and express my individuality through lighting. Embarking on a DIY LED project is a fantastic way to transform any room into a personalized oasis and indulge in the captivating allure of LEDs.


